
Our Homestead Thanksgiving, also known as “Satsgiving”


We have certainly all heard of Thanksgiving, and even “Friendsgiving”, but let me introduce you to “Satsgiving”. I can’t really tell you exactly when Satsgiving started, but I can tell you that it all started from a love of food and cooking, even at an early age.
I was fortunate enough to have grown up in what some might describe as a traditional household. My dad worked and my mom was a stay at home mom, the toughest job any parent can have. With that came a home cooked meal just about every night. My mom is a great cook and I am sure that my love of food started there. I was always the adventurous one (out of four children),often sharing a meal of liver and onions with my dad or nibbling on a chicken neck or some other “parts”. I suppose I was what is now called a “foodie”, but I did not know it at the time.
When I became a mom, I always tried to put a home cooked meal on the table every night. It was not an easy task because I also worked full time. We ate a lot of meals made with that iconic red and white can tossed with some sort of pasta, meat and veggies. It was quick, easy, and certainly affordable for a young family. A few years passed and then the best addiction of my life came along, the Food Network. Yes, I admit, I have a problem. I can hear my husband’s voice now…”if I have to watch another cooking show….” But, seeing what I could easily create in my own kitchen without boxed, processed food intrigued me.
And so it began, my true love of cooking. My husband will tell you that his happy place is in the garden or the greenhouse, mine is in the kitchen, a match made in heaven. He grows it, I cook it. I even find myself thinking all day about what I have in the freezer and what deliciousness I can create from it when I get home from work. Like I told you, I am addicted.
So for many years the Super Bowl of all cooking events, Thanksgiving, came and went at relatives houses. I was always appreciative, getting to spend time with our families year after year, but I really felt like something was missing. I wanted to make my own “Thanksgiving” and so became the evolution of “Satsgiving”. It’s our Thanksgiving meal that I cook and we serve to family and friends on the Saturday after Thanksgiving, hence the name “Satsgiving”. It is a more relaxed version of the holiday, my boys are often out hunting during the day and I just do my thing in my happy place.
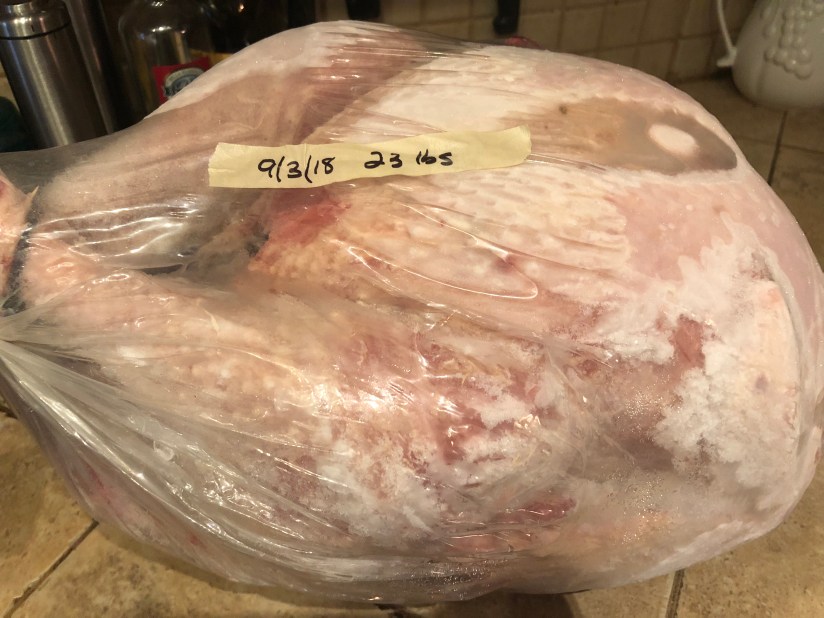
3 days in the fridge to defrost
this big boy!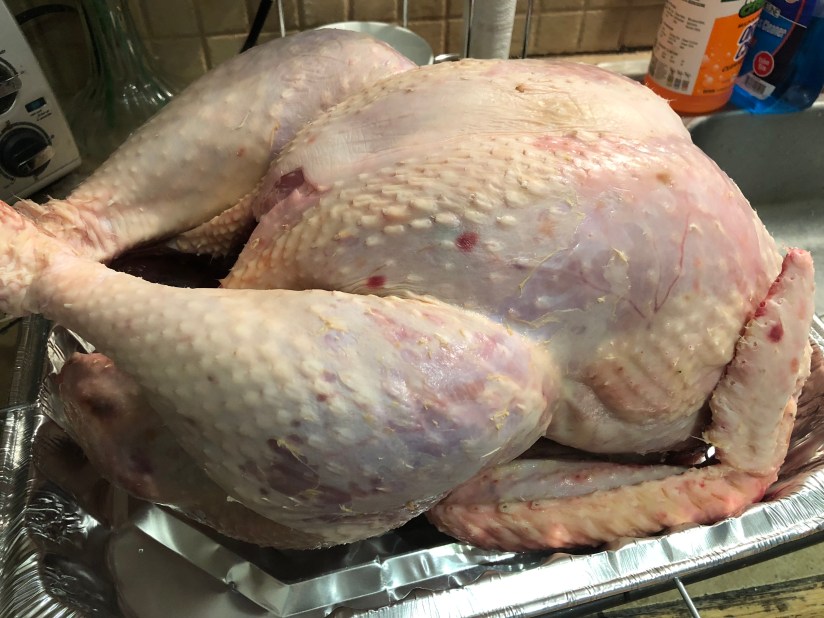
Skin dried and ready for its massage 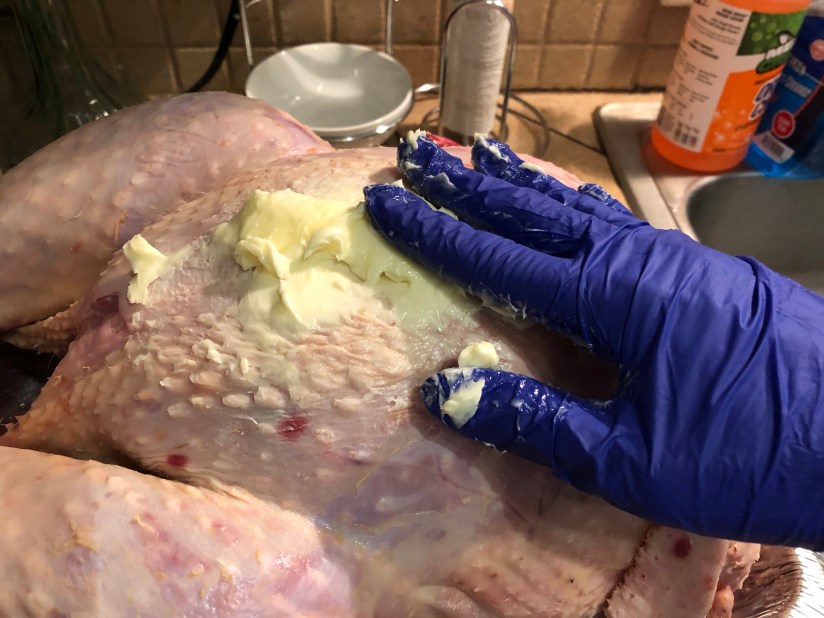
Rub it completely with softened butter 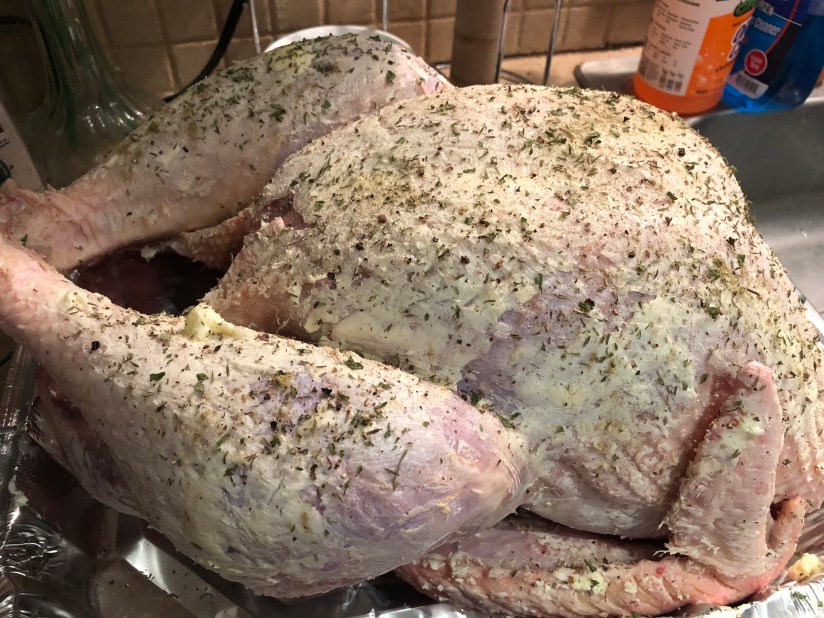
Sprinkle generously with salt, pepper,
parsley, sage and thyme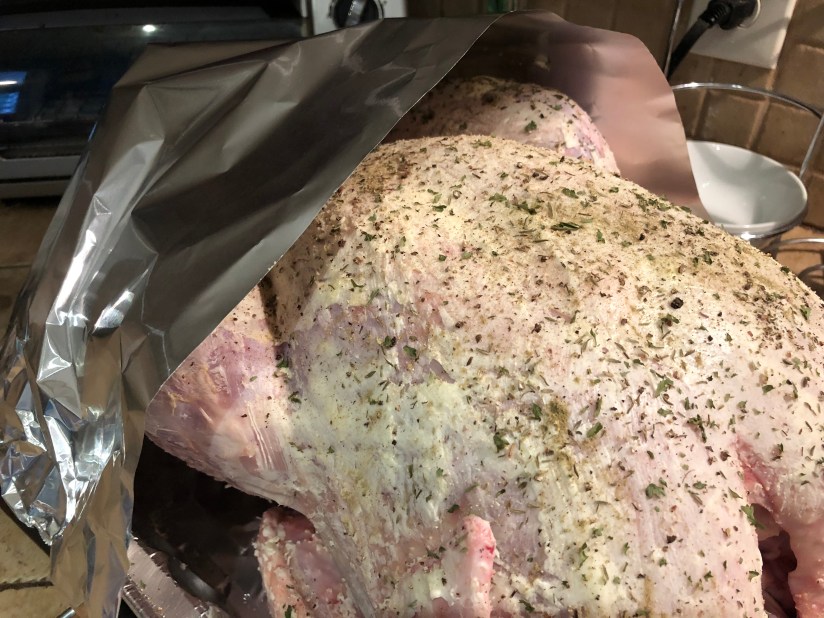
Cover loosely with foil, roast at 325 degrees F for about 6 hours for a bird this size, uncover 1/2 way through cooking time and wait patiently
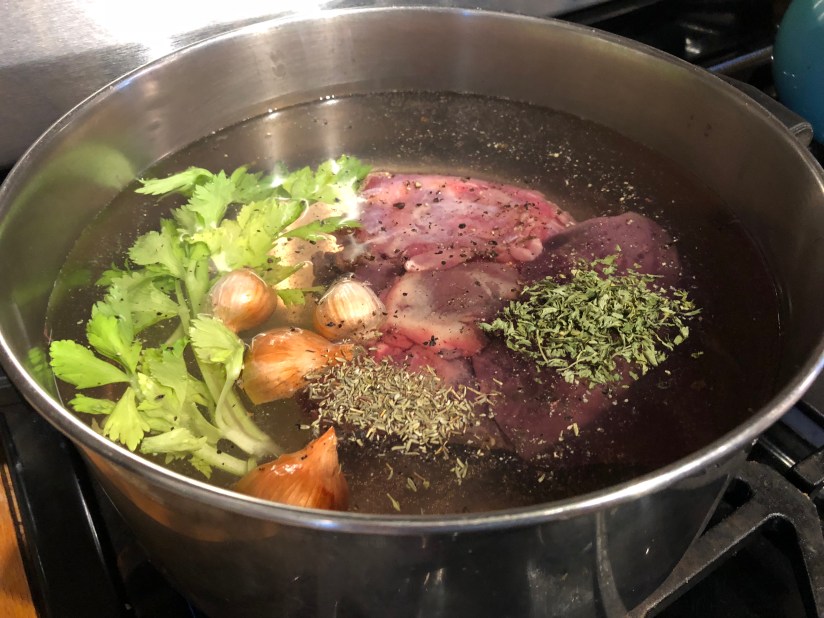
While the turkey is cooking, place the neck and any innards in a pot of cold water with onion, celery tops, salt, pepper, parsley, thyme and sage and bring to a boil. Simmer for about an hour and a half to make the most delicious turkey stock to use for gravy. Strain before using.

No words needed… The finished product!
This year’s Satsgiving was a particularly special meal because it was the first year that I cooked one of our homestead raised turkeys along with home grown corn, beans, potatoes and squash. And don’t forget the ham, from our happy, healthy pigs. (if you need a laugh, see my pig blog, “Adventures in Homesteading, A Not So Country Girl’s Perspective) We even ended the meal with a pumpkin pie, and you guessed it, no canned pumpkin in that pie!
I have never had such a sense of accomplishment to be able to serve my family a true homestead meal.
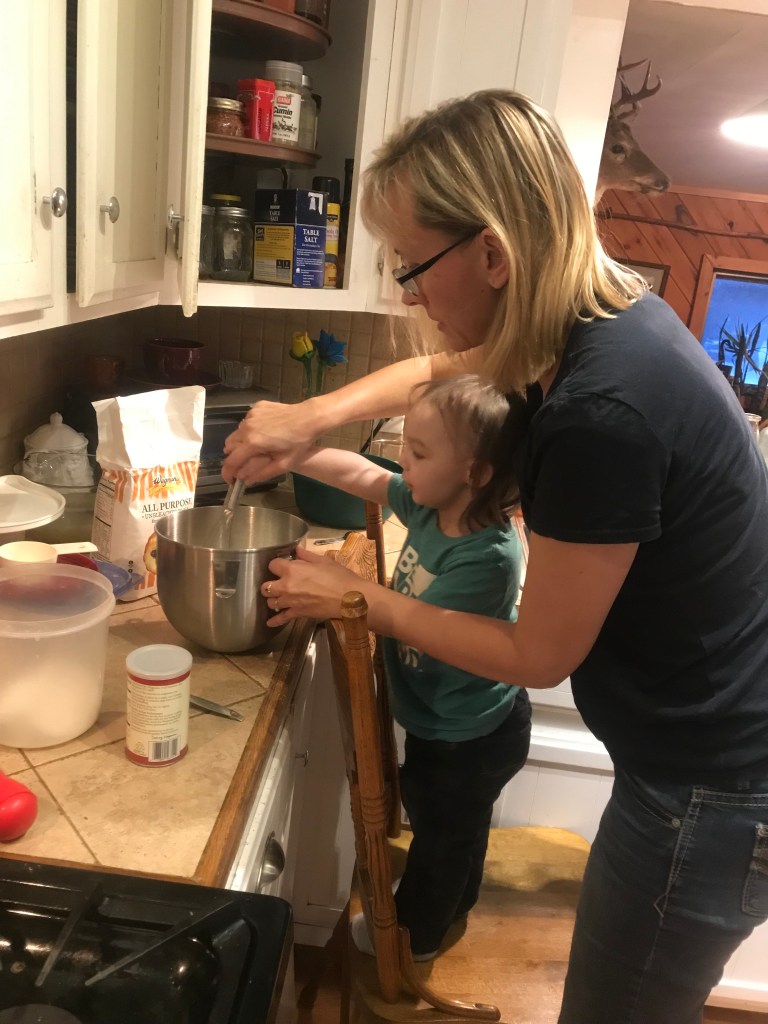
The cutest little helper and future chef 
Made with mashed pumpkin simply from halving a pumpkin, removing the seeds and roasting cut side down for about 1 hour at 350 F.
So give it a try, create your own holiday, and surround yourself with those you love. It’s not just about the food, but also the people around the table that make it the most special.


THis is awesome! And brings back memories of eating Liver and onions back in NJ when I was a kid. One of 5 girls my mom made food stretch… Such a good read! Love your stories and recipes… got one for that pumpkin pie? I am drooling! Hugs! Jenny (@5dandelions)
LikeLike
Thank you for your kind words! Here’s the recipe….
My go-to pie crust:
1 and 1/4 cups AP flour
1/4 tsp salt
1/2 cup butter(one stick), cold and diced
1/4 cup ice water
In a stand mixer or food processor, combine flour and salt. Add in the cut butter pieces and mix until the mixture looks like coarse crumbs.
While the mixer or processor is running, add the water, one tablespoon at a time until the mixture just sticks together. Gather in a ball and wrap in plastic wrap. Refrigerate for at least 1 hour before rolling out.
The filling:
2 cups mashed cooked pumpkin
1 12 oz can of evaporated milk
2 eggs, beaten
3/4 cup packed brown sugar
1/2 tsp cinnamon
1/2 tsp nutmeg
1/4 tsp ginger
1/2 tsp salt
Preheat oven to 400 F. On a lightly floured board, roll out the crust into about a 1/8th thickness for either 8 or 9 inch round pie dish. Lay the crust into the dish and cut off any excess.
In a large bowl, beat all ingredients together with a hand mixer until thoroughly mixed. Pour into pie crust and bake for about an hour or until the filling is set when you jiggle the pie a bit. Enjoy, and please let us know how it turns out if you make it.
tip: I usually bake the pie on a baking sheet in case of pie run over!
LikeLike